
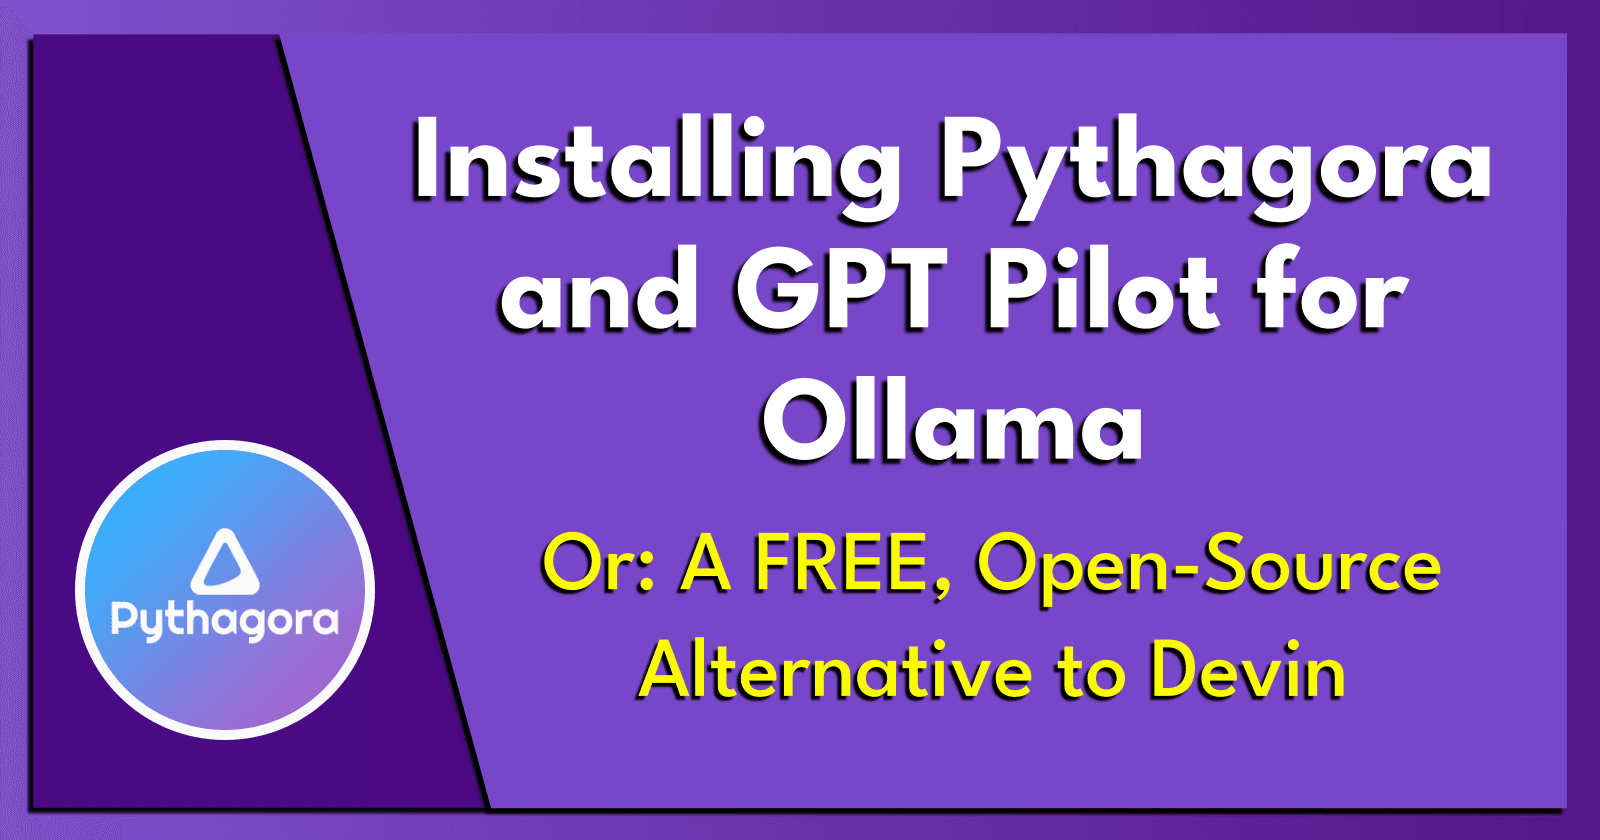
Installing Pythagora and GPT Pilot for Ollama.
Or: A FREE, Open-Source Alternative to Devin.
Thank you for reading this post.
My name is Brian and I'm a developer from New Zealand. I've been interested in computers since the early 1990s. My first language was QBASIC. (Things have changed since the days of MS-DOS.)
I am the managing director of a one-man startup called Digital Core (NZ) Limited. I have accepted the "12 Startups in 12 Months" challenge so that DigitalCore will have income-generating products by April 2024.
This blog will follow the "12 Startups" project during its design, development, and deployment, cover the Agile principles and the DevOps philosophy that is used by the "12 Startups" project, and delve into the world of AI, machine learning, deep learning, prompt engineering, and large language models.
I hope you enjoyed this post and, if you did, I encourage you to explore some others I've written. And remember: The best technologies bring people together.
TL;DR.
This post provides a detailed guide on installing and setting up Pythagora and GPT Pilot, two powerful tools for app development using large language models like GPT-4. The prerequisites include using a Debian-based Linux distro (I use Ubuntu) and building virtual environments with Miniconda and venv. I start with creating a Miniconda environment, setting up a Pythagora home directory, installing Pythagora through VS Code, and configuring GPT Pilot for use with Pythagora. I conclude by listing the potential benefits of using these tools for efficient app development.
Attributions:
https://docs.anaconda.com/free/miniconda/index.html↗,
https://github.com/Pythagora-io/gpt-pilot↗, and
https://github.com/Pythagora-io/gpt-pilot/wiki/Using-GPT%E2%80%90Pilot-with-Local-LLMs↗.
An Introduction.
Pythagora (along with Devin) is the newest attempt to integrate large language models (LLMs) into the app development process.
The purpose of this post is to show how to fuse a local LLM with Pythagora and GPT Pilot.
The Big Picture.
Pythagora and Devin could be very handy when building the 12 Startups. Devin has not been released at the time of writing, but Pythagora looks extremely promising. (I'm usually an optimist, regardless of how many times I've been burned.)
Prerequisites.
A Debian-based Linux distro (I use Ubuntu),
Updating my Base System.
- From the (base) terminal, I update my (base) system:
sudo apt clean && \
sudo apt update && \
sudo apt dist-upgrade -y && \
sudo apt --fix-broken install && \
sudo apt autoclean && \
sudo apt autoremove -y
What is Anaconda and Miniconda?
Python projects can run in virtual environments. These isolated spaces are used to manage project dependencies. Different versions of the same package can run in different environments while avoiding version conflicts.
venv is a built-in Python 3.3+ module that runs virtual environments. Anaconda is a Python and R distribution for scientific computing that includes the conda package manager. Miniconda is a small, free, bootstrap version of Anaconda that also includes the conda package manager, Python, and other packages that are required or useful (like pip and zlib).
https://docs.anaconda.com/free/miniconda/index.html↗, and
https://solodev.app/installing-miniconda.
I ensure Miniconda is installed (conda -V) before continuing with this post.
Creating a Miniconda Environment.
- I use the
condacommand to display alistof Minicondaenvironments:
conda env list
- I use
condatocreate, andactivate, a new environment named (-n) (Pythagora):
conda create -n Pythagora python=3.11 -y && conda activate Pythagora
NOTE: This command creates the (Pythagora) environment, then activates the (Pythagora) environment.
Creating the Pythagora Home Directory.
NOTE: I will now define the home directory in the environment directory.
- I create the Pythagora home directory:
mkdir ~/Pythagora
- I make new directories within the (Pythagora) environment:
mkdir -p ~/miniconda3/envs/Pythagora/etc/conda/activate.d
- I use the Nano text editor to create the
set_working_directory.shshell script:
sudo nano ~/miniconda3/envs/Pythagora/etc/conda/activate.d/set_working_directory.sh
- I copy the following, paste (CTRL + SHIFT + V) it to the
set_working_directory.shscript, save (CTRL + S) the changes, and exit (CTRL + X) Nano:
cd ~/Pythagora
- I activate the (base) environment:
conda activate
- I activate the (Pythagora) environment:
conda activate Pythagora
NOTE: I should now, by default, be in the
~/Pythagorahome directory.
What is Pythagora?
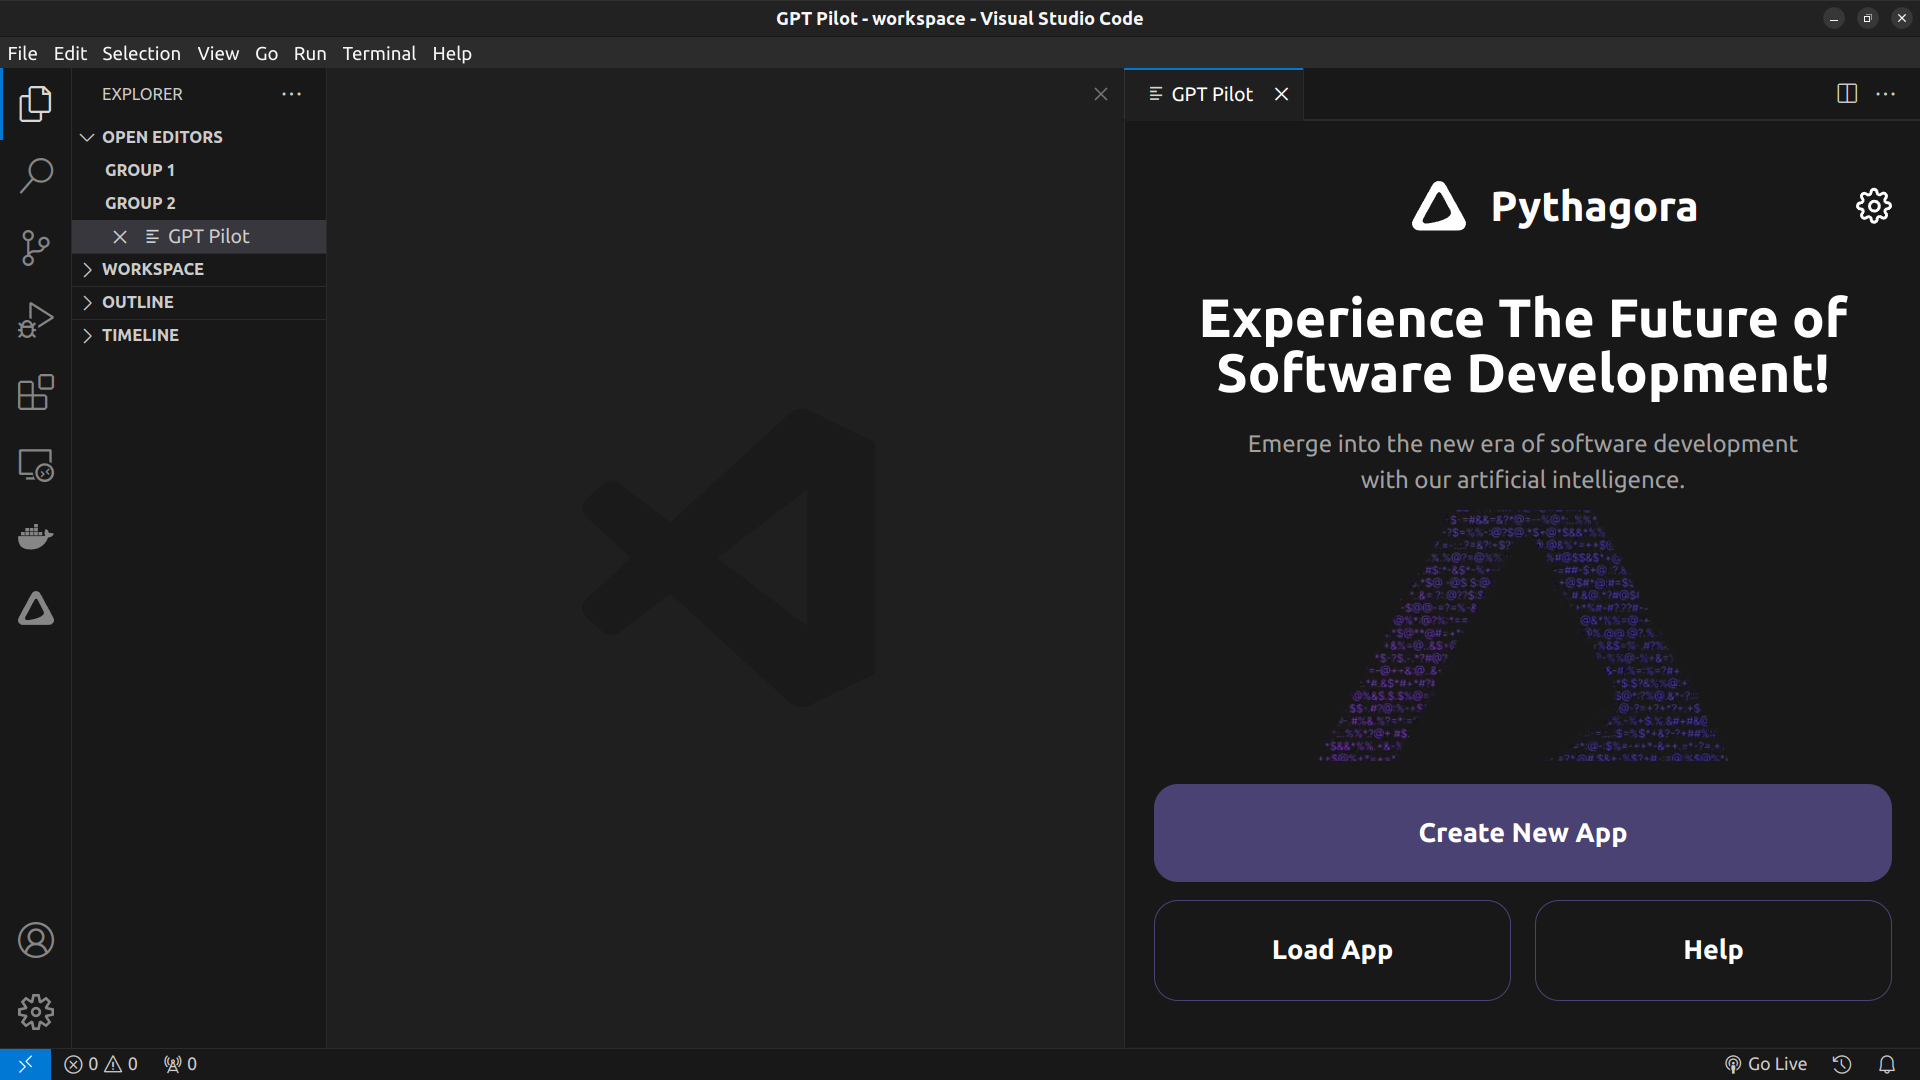
Pythagora is a tool that creates apps, from the ground up, by utilising the power of LLMs (large language models). It is an extension for VS Code and runs on GPT Pilot, one of the best code generators around. While designed around GPT-4, I have adjusted the GPT Pilot settings so Pythagora can work with local LLMs.
Installing Pythagora.
I open VS Code.
I open the Extensions panel.
I search for "Pythagora".
I click on the blue "Install" button for "Pythagora (GPT Pilot) Beta" from Pythagora Technologies.
I select the installation directory for GPT Pilot, i.e.
~/Pythagora.I apply for an account, if required.
I click the purple "Create New App" button:
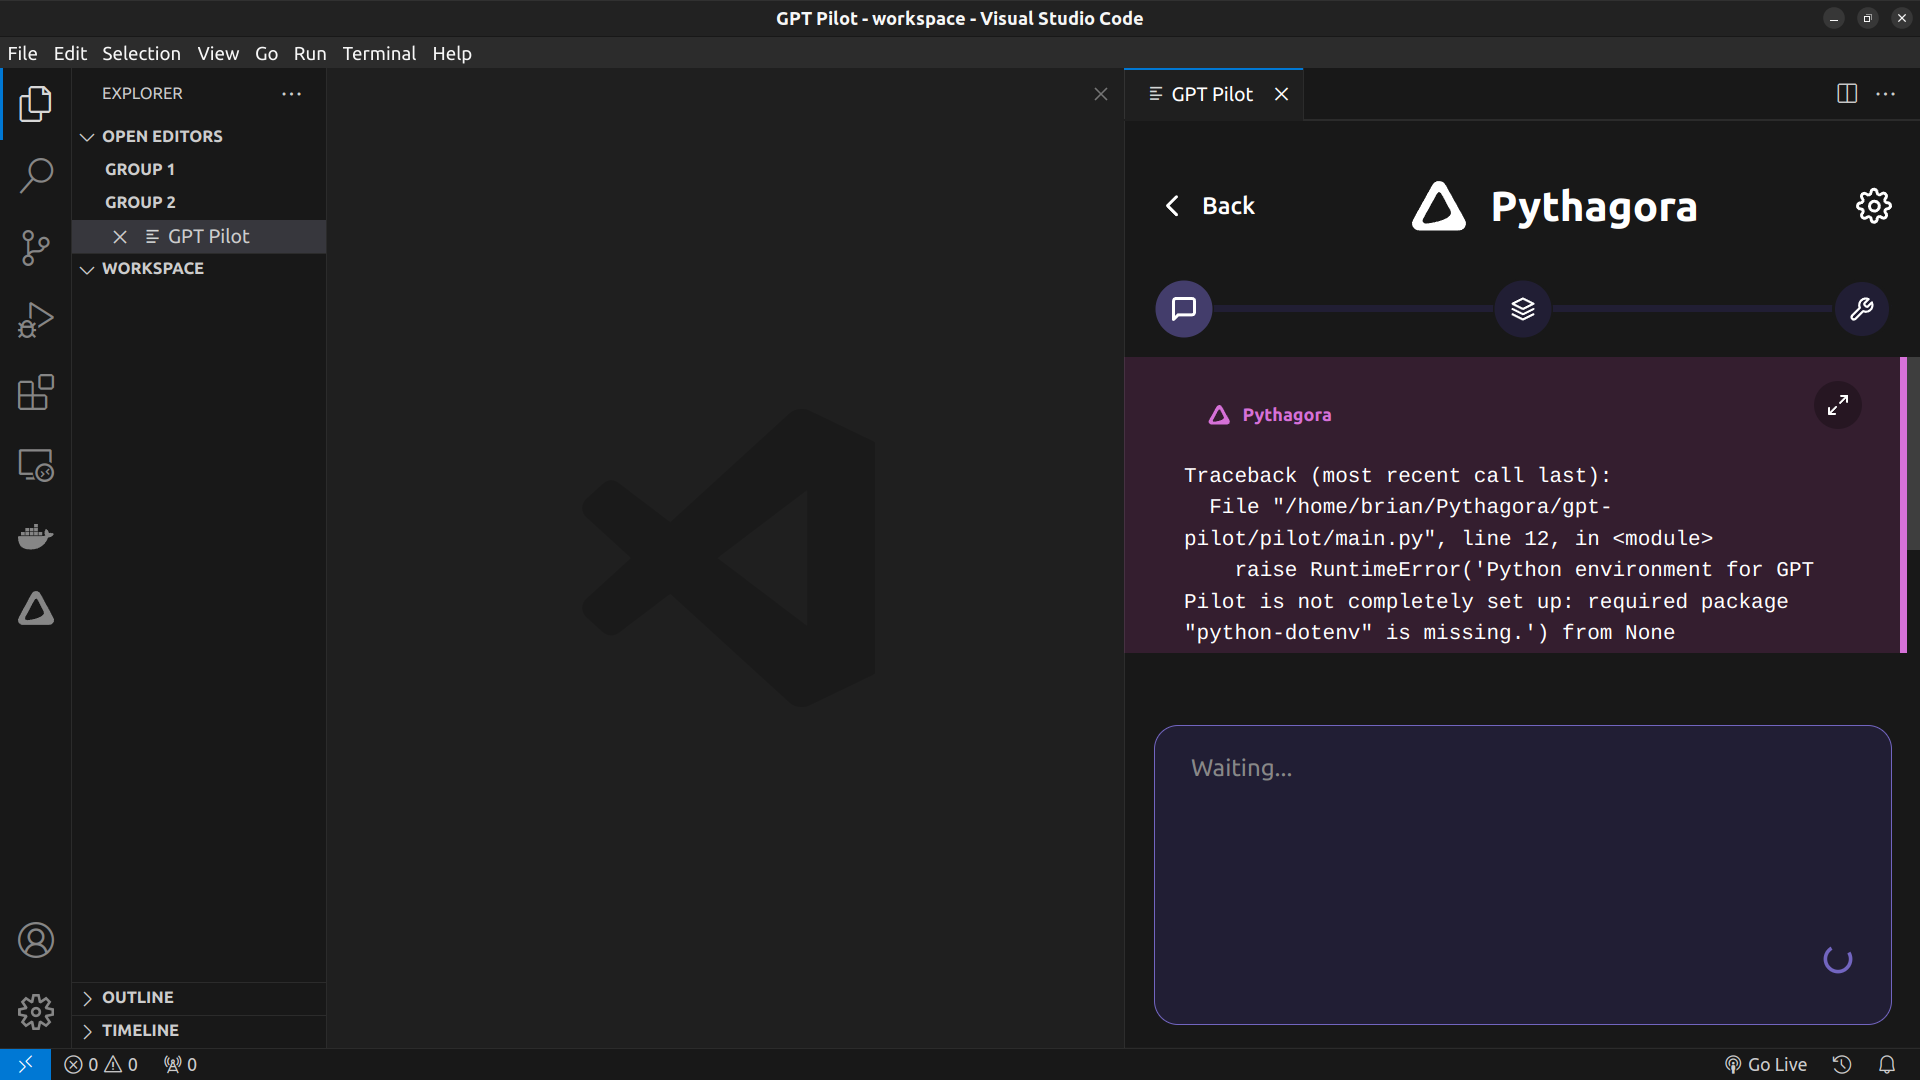
NOTE: The rest of this post involves fixing this RuntimeError.
- I exit VS Code.
What is GPT Pilot?
GPT Pilot is the main engine that powers the Pythagora VS Code extension. (The developers of Pythagora want it to be the first, true AI assistant for developers.) Together, GPT Pilot and Pythagora do more than just fill in missing code or help with pull request messages. GPT Pilot helps Pythagora act like a real AI developer that can write complete features, fix bugs, discuss problems, request reviews, and perform many other code-related tasks.
Installing GPT Pilot.
- From the (Pythagora) terminal, I update the Ollama utility:
curl https://ollama.ai/install.sh | sh
- I use the Nano text editor to open the
.envfile:
sudo nano ~/Pythagora/gpt-pilot/pilot/.env
- I make the following changes, save (CTRL + S) the changes, and exit (CTRL + X) Nano:
OPENAI_ENDPOINT=http://localhost:11434/v1/chat/completions
OPENAI_API_KEY=1111

MODEL_NAME=codellama
NOTE: I ensure Ollama has local access to CodeLlama, e.g.
ollama pull codellama.
Settings for Pythagora.
NOTE: Whenever the Pythagora extension is updated within VS Code, these steps will enable its' functionality in the newly-deployed
gpt-pilotdirectory.
- I change to the
gpt-pilotdirectory:
cd ~/Pythagora/gpt-pilot
- I install venv:
sudo apt install python3.11-venv
- I create a new venv (virtual environment):
python -m venv --without-pip ~/Pythagora/gpt-pilot/pilot-env
- I activate the venv:
source ~/Pythagora/gpt-pilot/pilot-env/bin/activate
- From the (pilot-env) environment, I install pip:
curl https://bootstrap.pypa.io/get-pip.py | python
- I check pip:
which pip
- I upgrade pip:
pip install --upgrade pip
- I install the requirements:
pip install -r ~/Pythagora/gpt-pilot/requirements.txt
- I deactivate the (pilot-env) environment:
deactivate
- I deactivate the (Pythagora) environment:
conda deactivate
Testing VS Code.
I open VS Code.
I click the Pythagora icon in the left pane:
- I click the purple "Create New App" button:
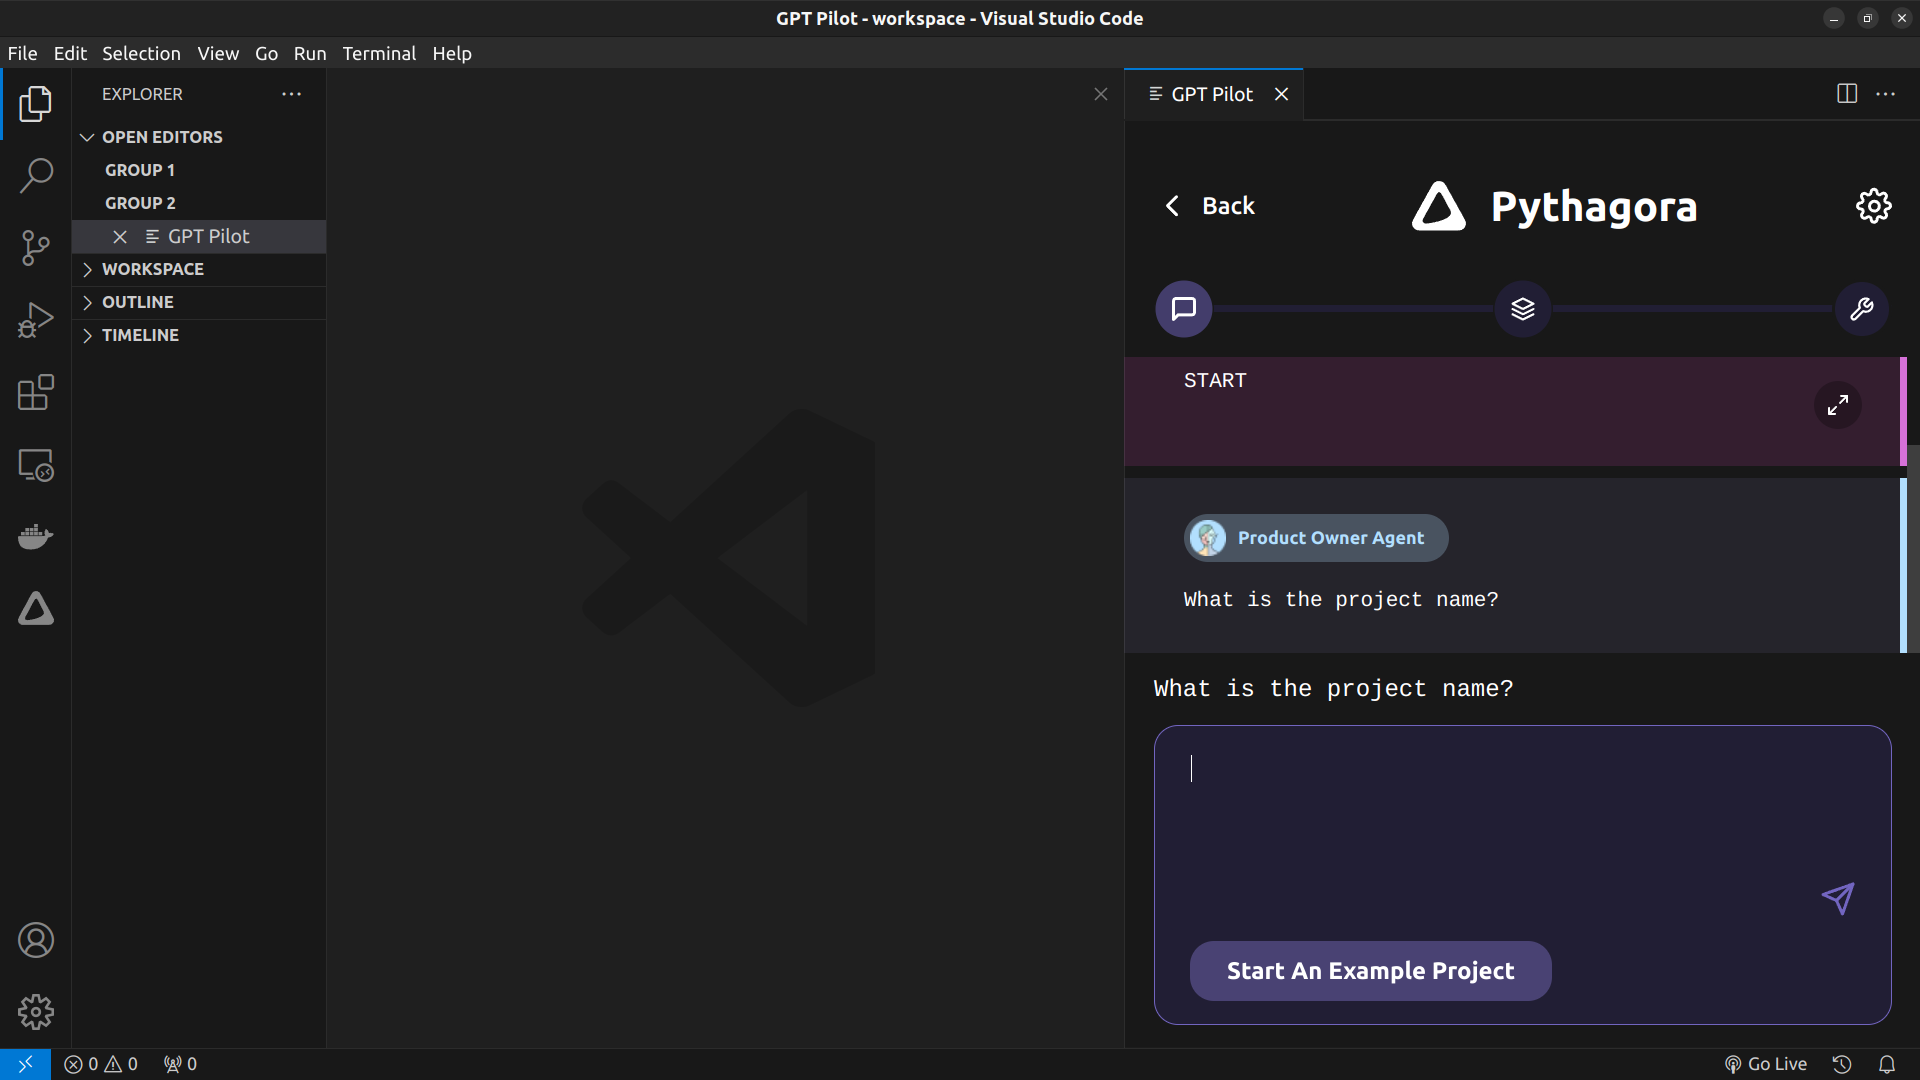
- I start developing an app.
The Results.
The advent of Pythagora and GPT Pilot marks a significant leap forward in the development of applications using the power of large language models. By leveraging the capabilities of GPT-4 through Pythagora, developers are empowered to create sophisticated applications with an unprecedented level of efficiency and creativity. The installation process, although intricate, opens up a world of possibilities for customization and optimization, allowing for a tailored development experience. As I continue to explore the potential of these tools, it's clear that they represent a new frontier in coding, where the boundaries of what can be achieved are continually expanding. The future of software development is bright, and Pythagora and GPT Pilot are leading the charge towards a more innovative, and automated, era.
In Conclusion.
I can now dive into the future of app development with Pythagora and GPT Pilot. I can also discover how these powerful tools are revolutionizing the way I create software.
Pythagora is a VS Code extension that uses the might of GPT Pilot, enabling me to efficiently build applications from scratch. But before I leapt into this installation, I ensured my system was ready. I used a Linux distro called Ubuntu and virtual environment managers called Miniconda and venv. A virtual environment is key to many Python projects.
Setting up Pythagora involved creating a dedicated environment and home directory. I navigated through this involved installation by following this step-by-step guide. GPT Pilot enhances Pythagora by powering it with GPT-4 capabilities. However, I tweaked the configurations to use local LLMs instead. Sadly, there was a RuntimeError that stopped Pythagora from running, so I spent the rest of the day tweaking the settings that eventually lead to a running installation.
The combination of Pythagora and GPT Pilot signifies a major leap in the application development cycle. I wholly embrace a future where coding meets efficiency.
I am now ready to start developing my own apps with Pythagora. This detailed guide ensured I had all the tools and knowledge for a clean installation. Join me on my journey as I explore how Pythagora and GPT Pilot are shaping the future of code generation. Don't miss out on unlocking the full potential of these groundbreaking tools. I plan to transform my software development process from "not coding" to "some coding". Eventually.
Until next time: Be safe, be kind, be awesome.
#Pythagora #GPTPilot #PythonDevelopment
#VSCodeExtensions #AppDevelopment
#SoftwareInnovation #CodingFuture
#TechGuide #Miniconda #venv
#VirtualEnvironments