
Installing Jupyter Notebook within Miniconda.
Or: Running Python Experiments in a GUI Notebook.

Thank you for reading this post.
My name is Brian and I'm a developer from New Zealand. I've been interested in computers since the early 1990s. My first language was QBASIC. (Things have changed since the days of MS-DOS.)
I am the managing director of a one-man startup called Digital Core (NZ) Limited. I have accepted the "12 Startups in 12 Months" challenge so that DigitalCore will have income-generating products by April 2024.
This blog will follow the "12 Startups" project during its design, development, and deployment, cover the Agile principles and the DevOps philosophy that is used by the "12 Startups" project, and delve into the world of AI, machine learning, deep learning, prompt engineering, and large language models.
I hope you enjoyed this post and, if you did, I encourage you to explore some others I've written. And remember: The best technologies bring people together.
TL;DR.
This post guides me through installing Jupyter Notebook, within Miniconda, on a Debian-based Linux distro called Ubuntu. It starts with updating my base system, then I move on to installing Miniconda, creating a dedicated Miniconda environment, and setting up a Jupyter home directory. I explain Miniconda and Jupyter Notebook, then provide details on how to install Jupyter Notebook, change its default browser, and create a "Hello World" Notebook. The post ends by showcasing the benefits of combining Miniconda and Jupyter Notebook for Python development.
Attributions:
An Introduction.
NOTE: The classic, Jupyter Notebook is on the verge of being sunset. Its replacement is JupyterLab which, among other things, includes an embedded version of Jupyter Notebook.
Computer scientists need a simple tool to collect data, apply algorithms to that data, generate visualisations of their results, and present their analysis and conclusions to their colleagues. Jupyter Notebook is the computer science tool.
The purpose of this post is to show an installation process for Jupyter Notebook.
The Big Picture.
Jupyter Notebook is very popular in the field of computer science and quickly became the de facto platform for data science. Many machine learning and deep learning research papers mention Jupyter Notebook. These Notebooks work well with tools like TensorFlow and PyTorch, and Jupyter Notebook lets researchers mix their code and data with analysis and ideas. This helps computer scientists think creatively. If you haven't checked it out yet, now is a great time to install Jupyter Notebook before it disappears.
Prerequisites.
A Debian-based Linux distro (I use Ubuntu),
Updating my Base System.
- In a terminal, I update my base system:
sudo apt clean && \
sudo apt update && \
sudo apt dist-upgrade -y && \
sudo apt --fix-broken install && \
sudo apt autoclean && \
sudo apt autoremove -y
What is Miniconda?
Miniconda is a free, small, bootstrap version of Anaconda that includes the conda package manager, Python, packages they both depend on, and a small number of other useful packages (like pip and zlib).
I first ensure that Miniconda has been installed before continuing.
Creating a Miniconda Environment.
- I use the
condacommand to display alistof Minicondaenvironments:
conda env list
- I use
condatocreate, andactivate, a new environment named (-n) (Jupyter):
conda create -n Jupyter python=3.11 -y && conda activate Jupyter
NOTE: This command creates the (Jupyter) environment, then activates the (Jupyter) environment.
Creating the Jupyter Home Directory.
NOTE: I will now define the home directory in the environment directory.
- I create the
Jupyterhome directory:
mkdir ~/Jupyter
- I make new directories within the (Jupyter) environment:
mkdir -p ~/miniconda3/envs/Jupyter/etc/conda/activate.d
- I use the Nano text editor to create the
set_working_directory.shshell script:
sudo nano ~/miniconda3/envs/Jupyter/etc/conda/activate.d/set_working_directory.sh
- I copy the following, paste (CTRL + SHIFT + V) it to the
set_working_directory.shscript, save (CTRL + S) the changes, and exit (CTRL + X) Nano:
cd ~/Jupyter
- I activate the (base) environment:
conda activate
- I activate the (Jupyter) environment:
conda activate Jupyter
NOTE: I should now, by default, be in the
~/Jupyterhome directory.
What is Jupyter Notebook?
Jupyter Notebook is an open source web application that lets me create, and share, documents that include live code, equations, visuals, and text. It is managed by the maintainers at Project Jupyter and started as part of the IPython project. The name "Jupyter" reflects the main languages it supports: Julia, Python, and R. It comes with the IPython kernel for Python programming, but I can also use over 100 other kernels.
Installing Jupyter Notebook.
- I use the
pipcommand to install the classic Jupyter Notebook:
pip install notebook
Changing the Default Browser for Jupyter Notebook.
- I generate a Jupyter Notebook configuration file:
jupyter notebook --generate-config
- I use the Nano text editor to open the config file:
sudo nano ~/.jupyter/jupyter_notebook_config.py
I navigate to the end of the file with (CTRL + END).
I copy the following, paste (CTRL + SHIFT + V) it into the Python module, save (CTRL + S) the changes, and exit (CTRL + X) Nano:
c.ServerApp.browser = '/bin/brave-browser %s'
#c.ServerApp.browser = '/bin/firefox %s'
#c.ServerApp.browser = '/bin/google-chrome %s'
NOTE: The Brave browser is now set as the default browser. I can also choose Firefox or Chrome, but it is important to uncomment only one browser at a time.
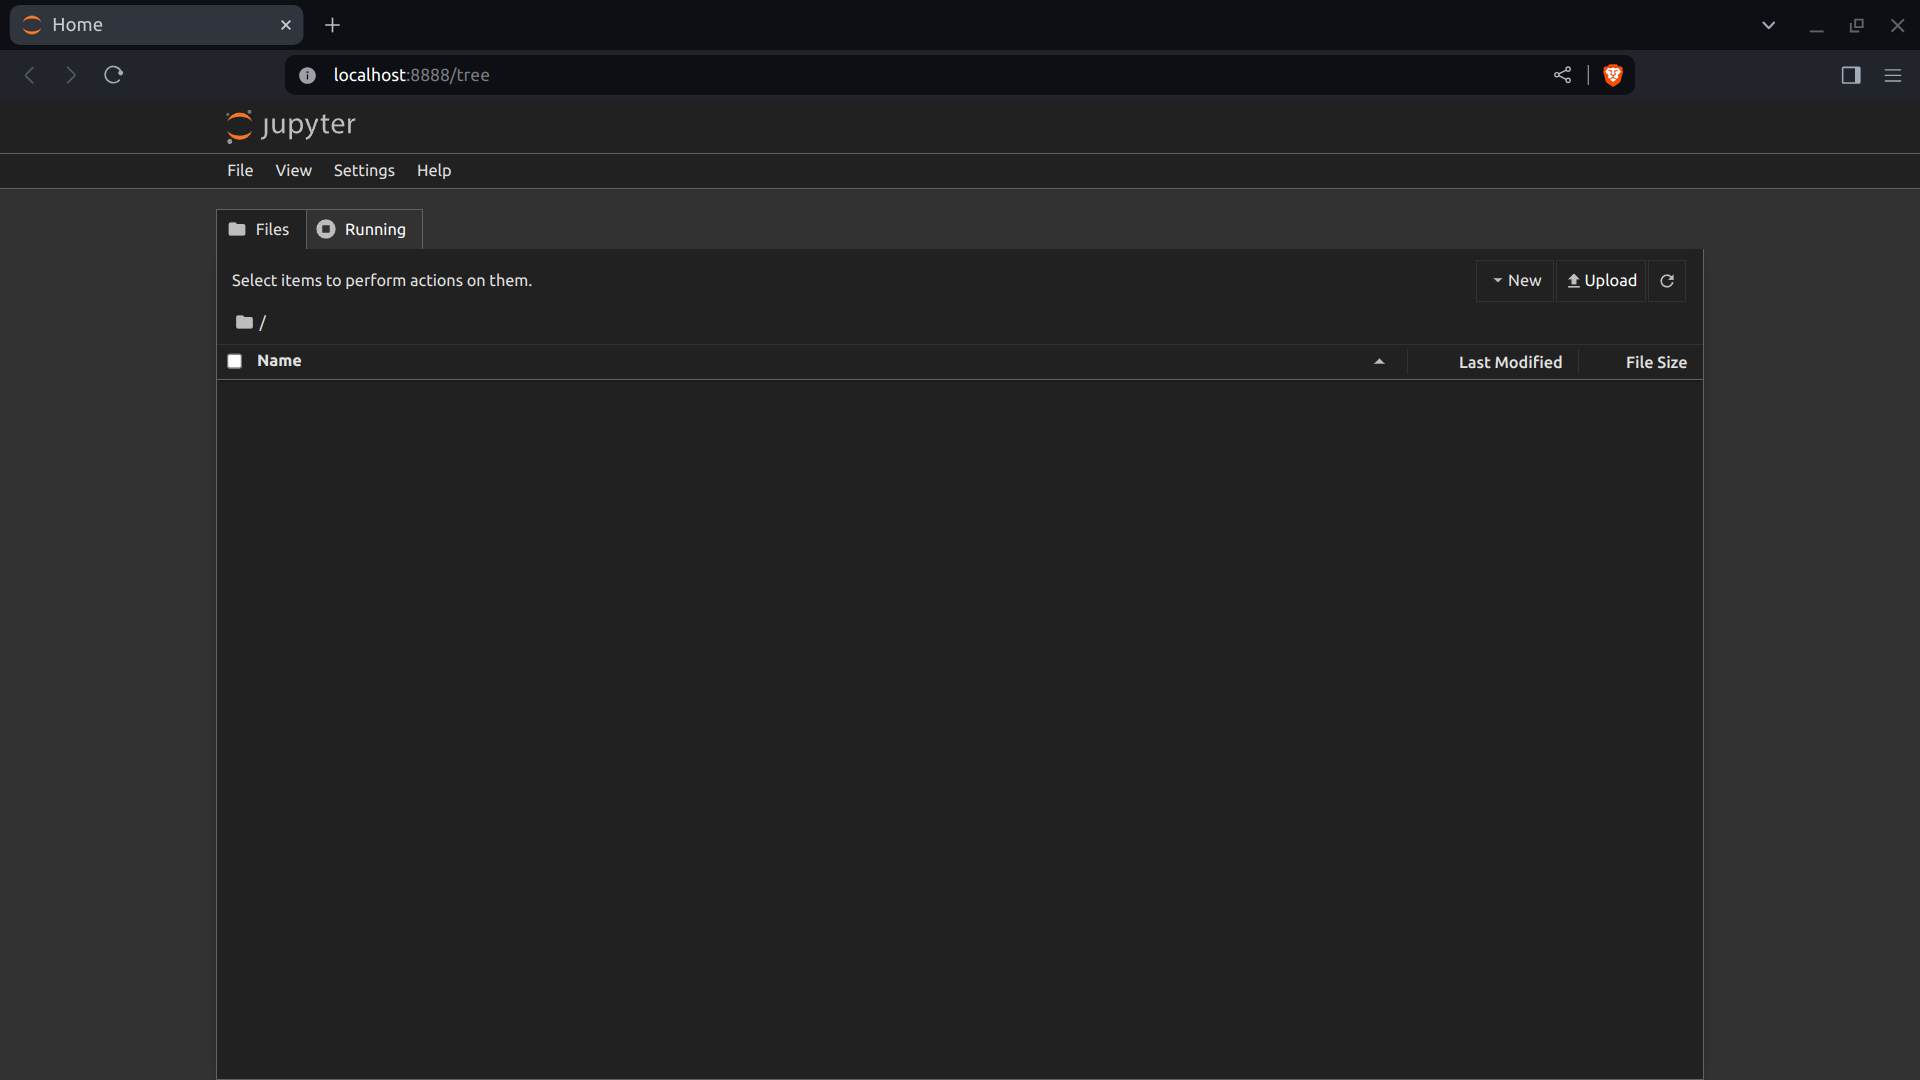
Running the Jupyter Home Page.
- I run the Jupyter Notebook:
jupyter notebook
NOTE: This command starts a local Python server (http://localhost) and then the Jupyter Home Page, running on port 8888, opens in my assigned browser.
Creating the "Hello World" Notebook.
- In the file menu, I select "File > New > Notebook":
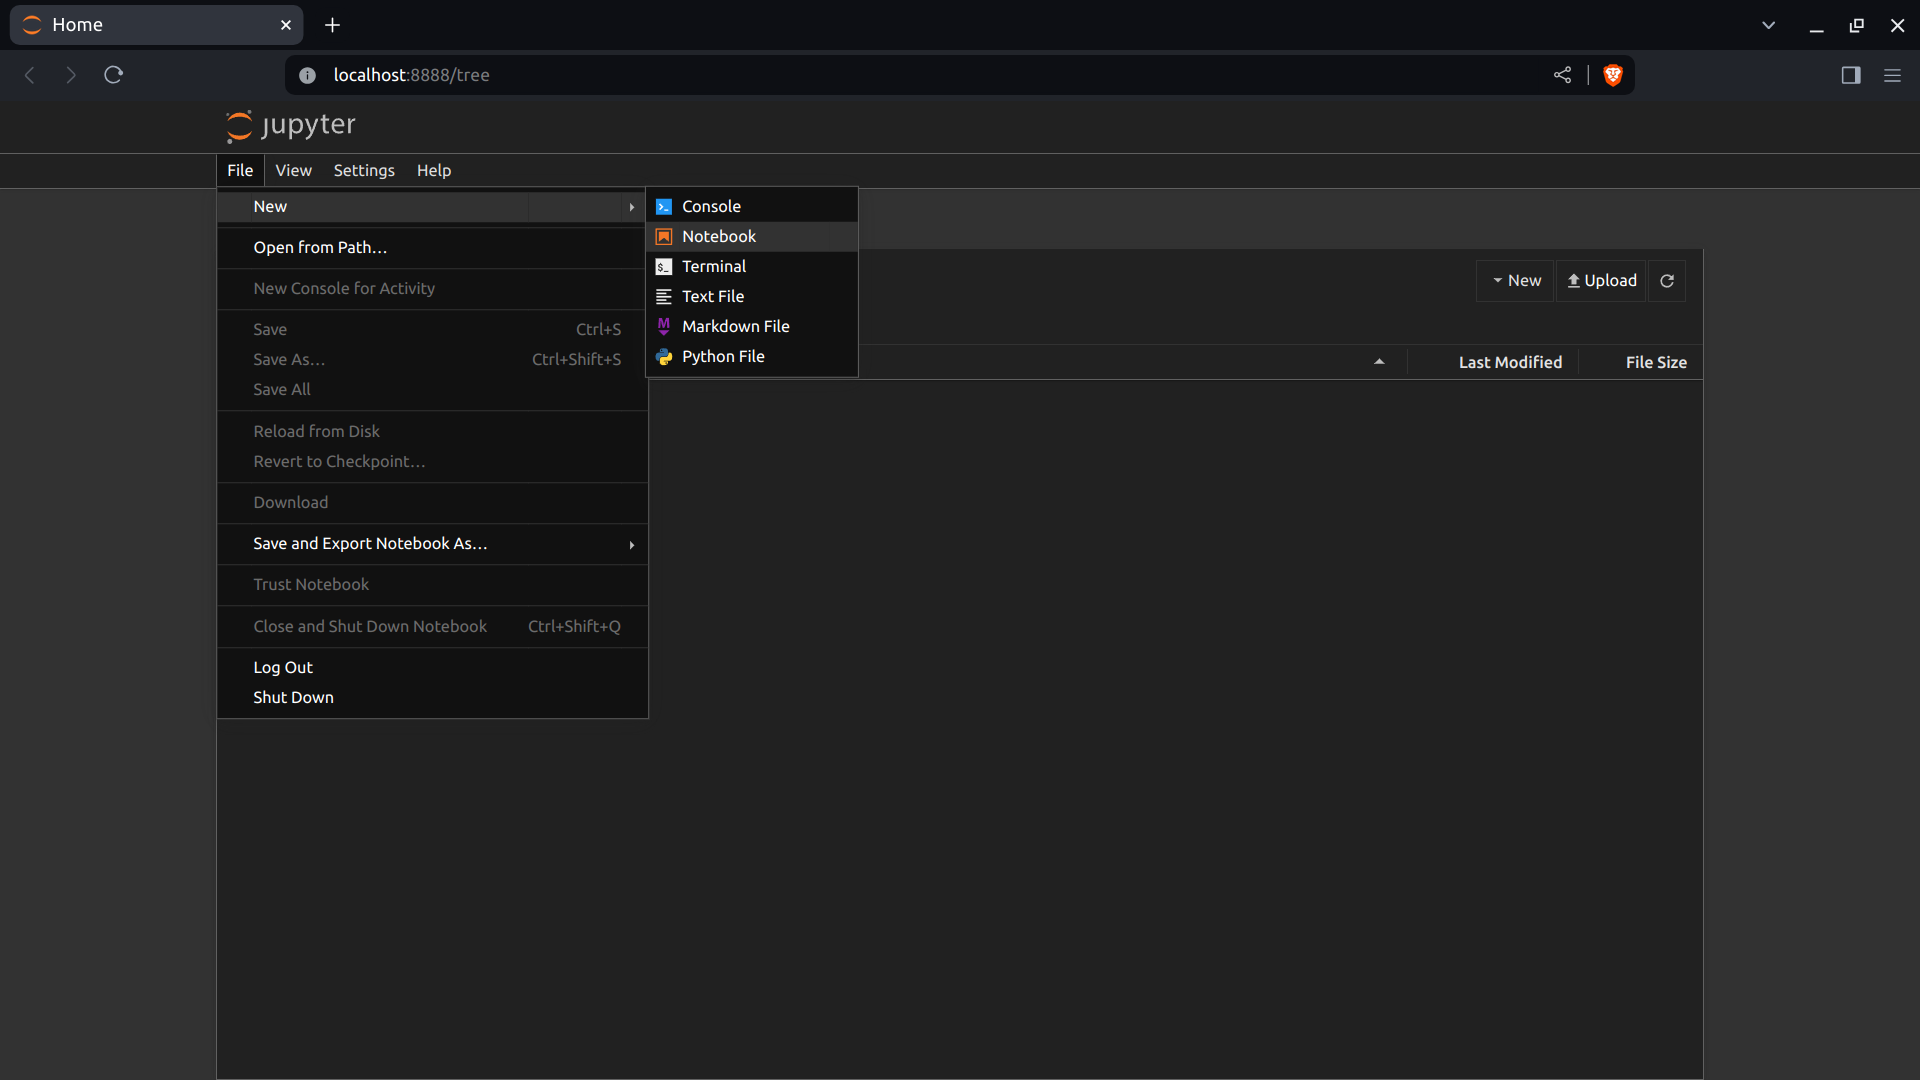
NOTE: I can also click the "New" button at the top-right of the page.
- I choose the default "Python 3 (ipykernel)" kernel, select the "Always start the preferred kernel" tick box, and click the blue "Select" button:
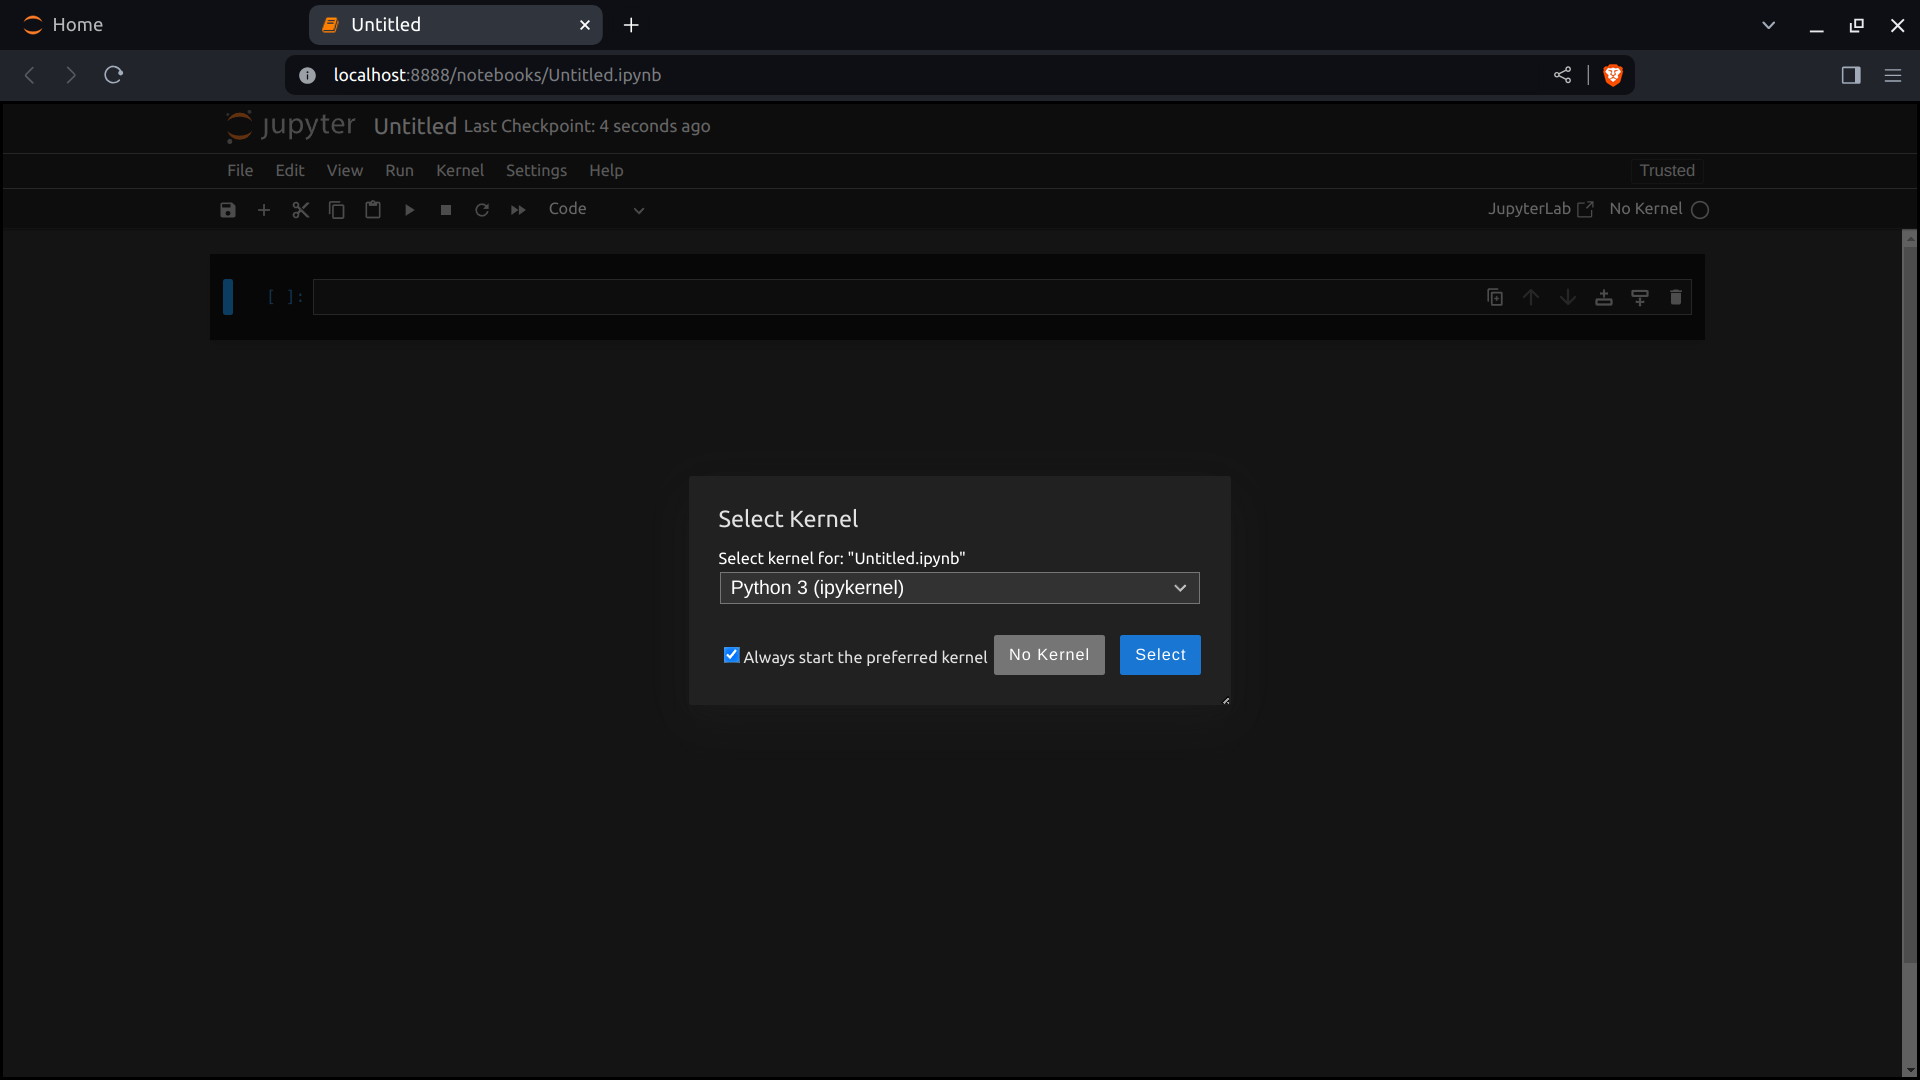
NOTE: The Notebook opens in a new browser tab.
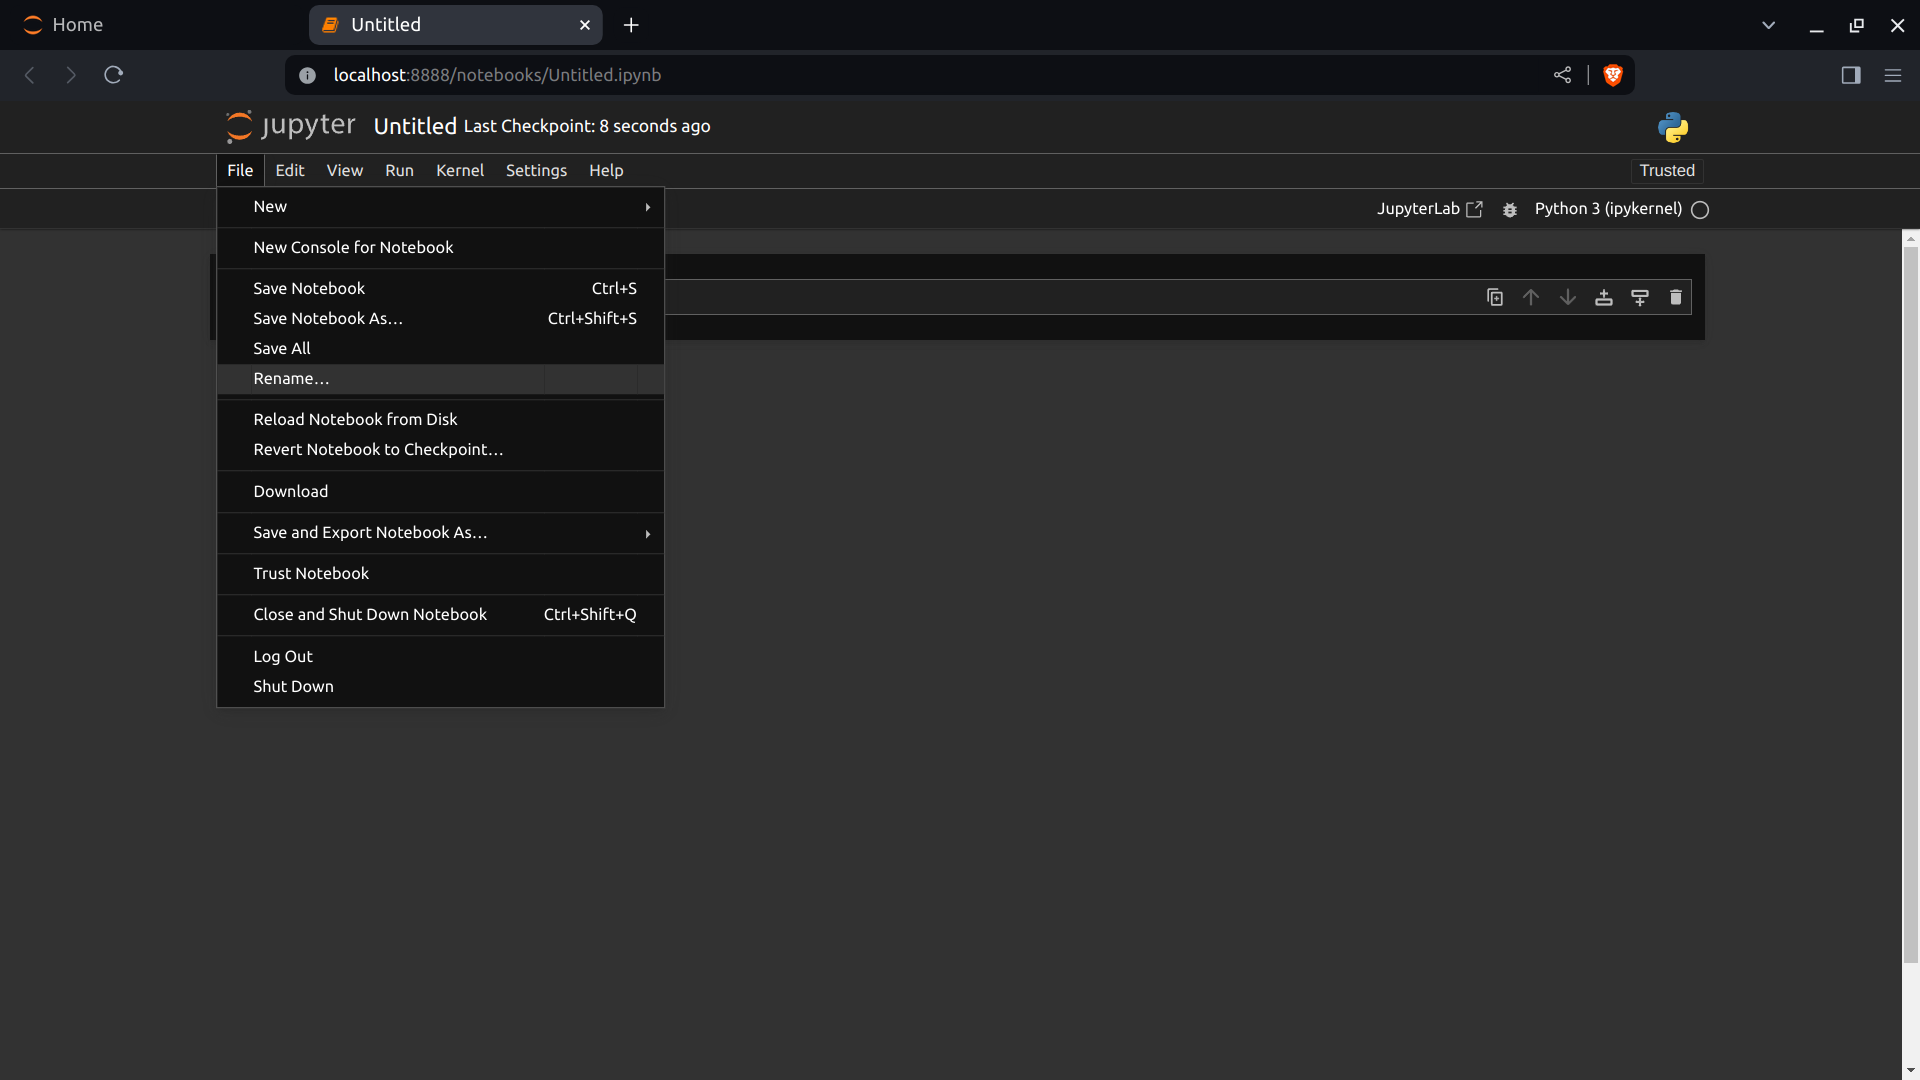
- In the file menu of the Notebook, I select "File > Rename...":
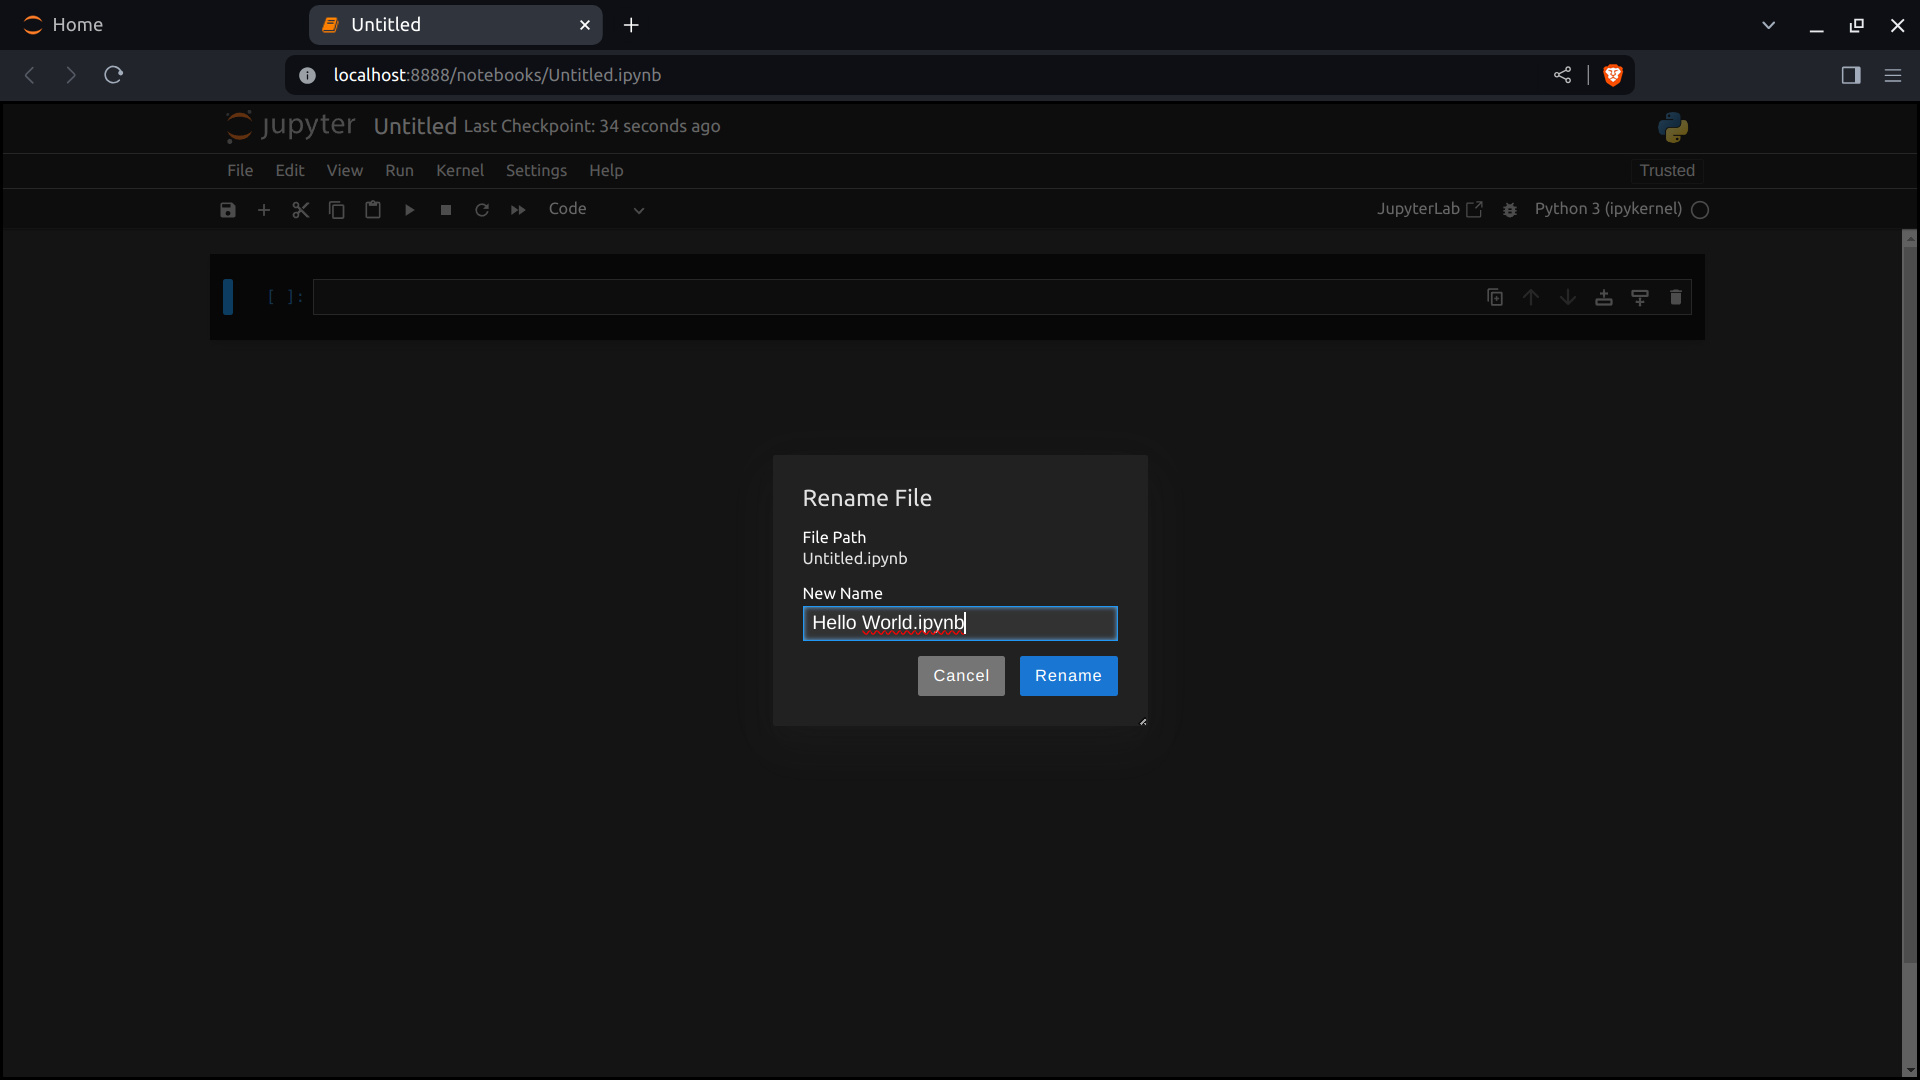
- I rename the Notebook as "Hello World.ipynb" and click the blue "Rename" button:
Running the "Hello World" Cell.
- I add the following to the first cell:
print("Hello, World.")
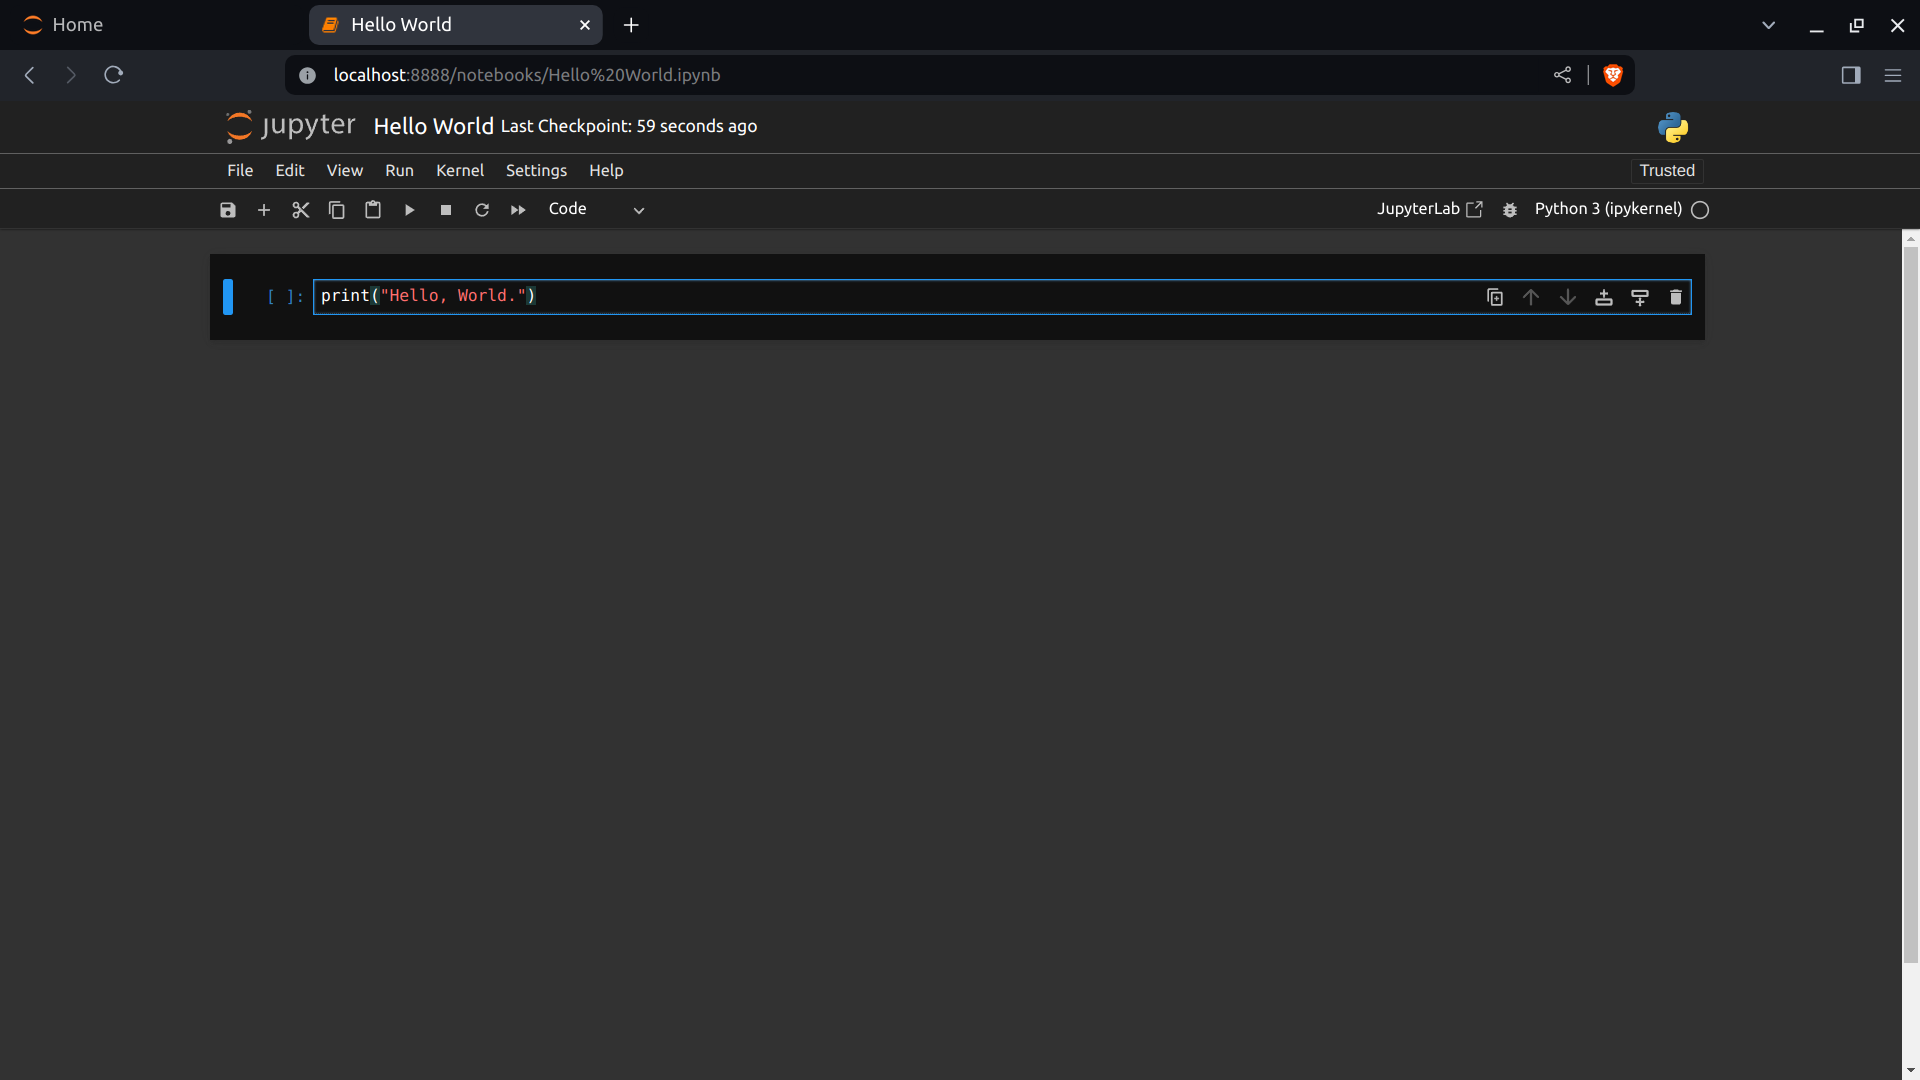
- I use SHIFT + ENTER to run the cell:
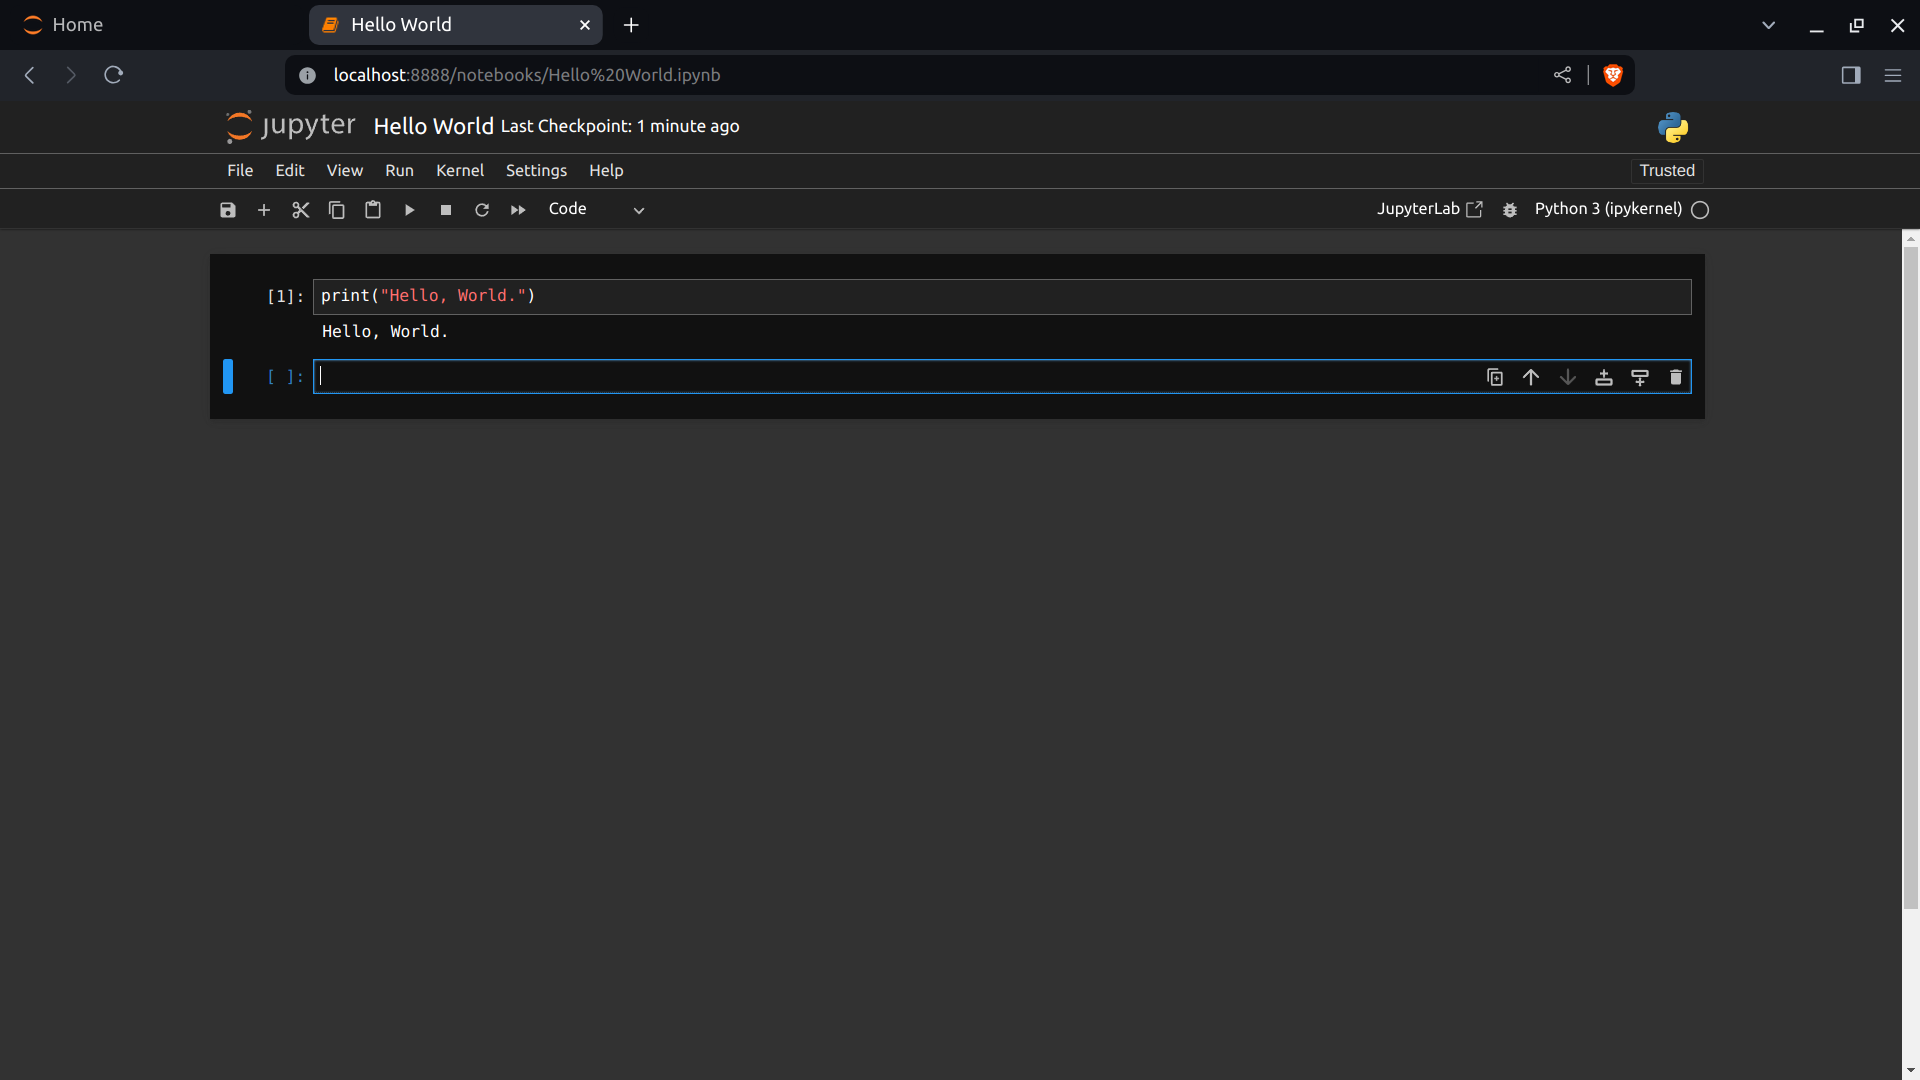
NOTE: The first cell is now numbered [1].
- I return to the Home tab to see the newly listed Notebook:
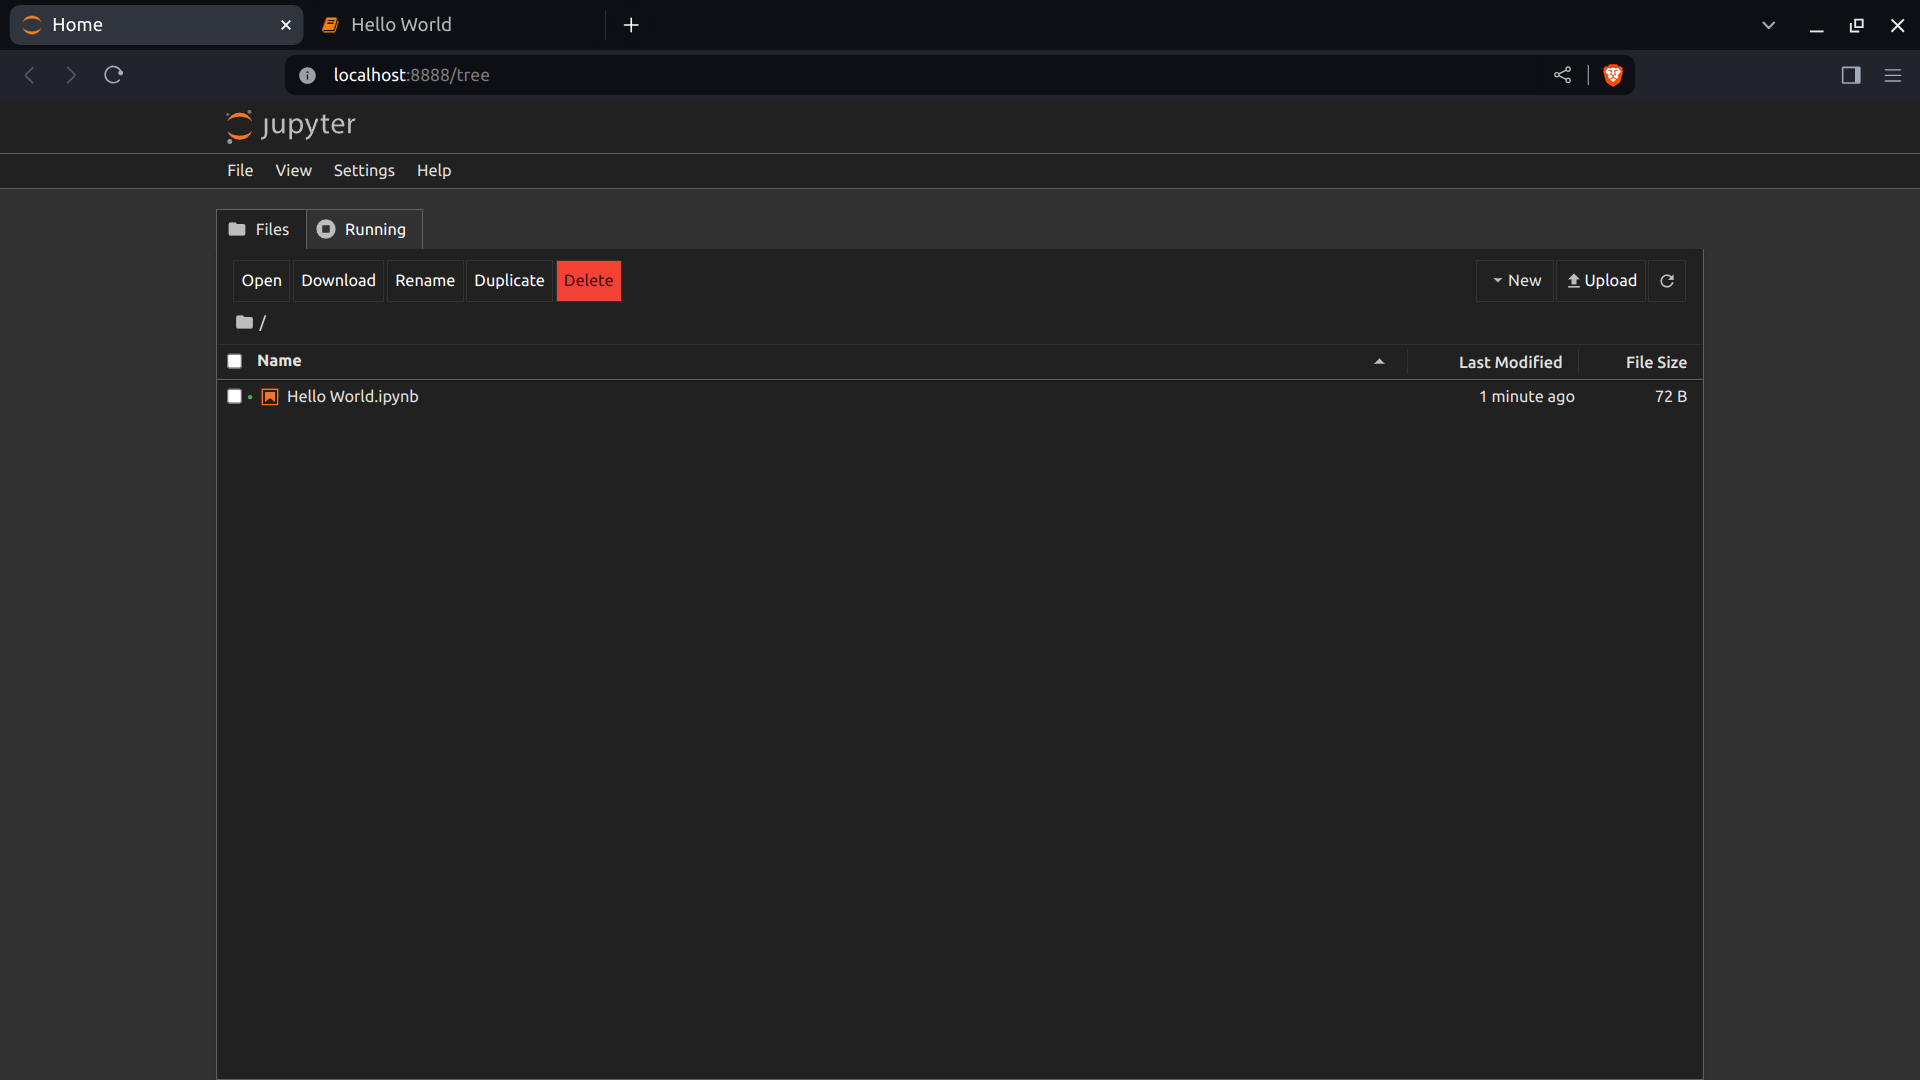
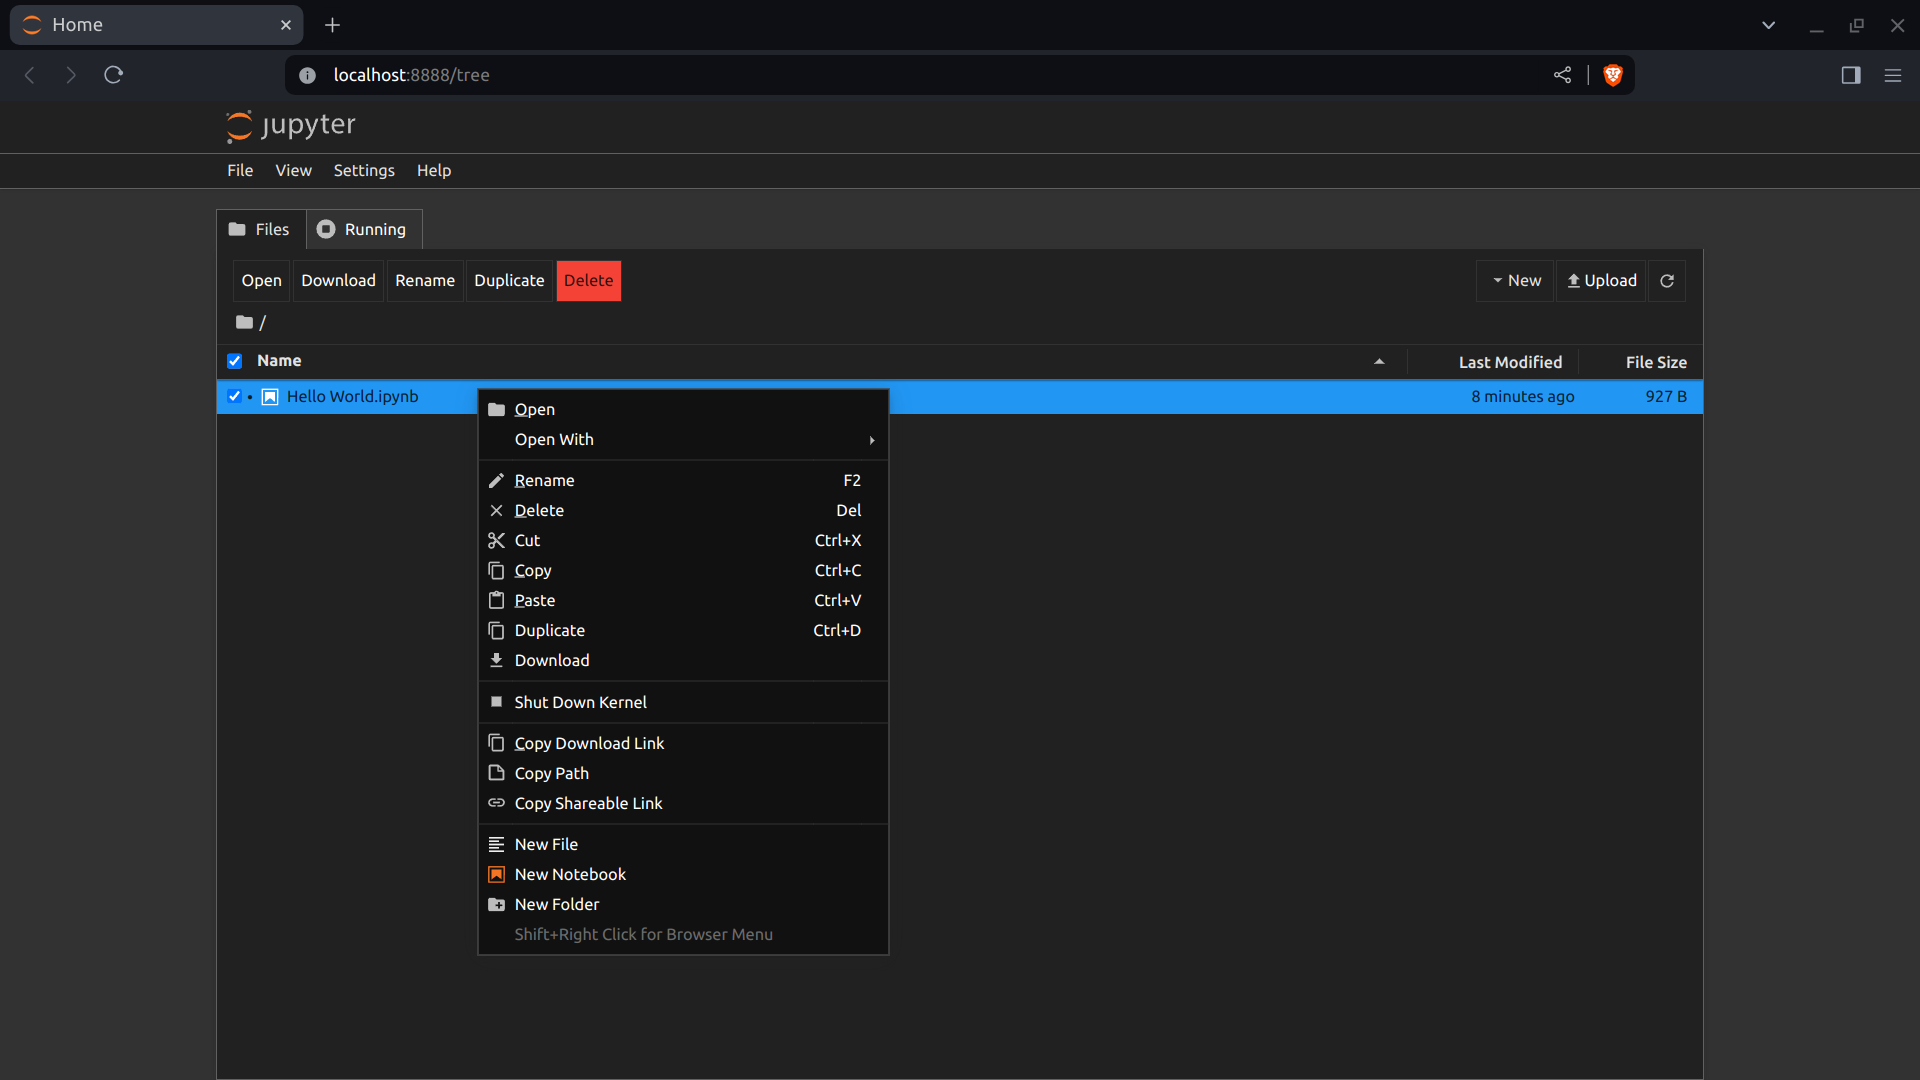
Opening a Notebook.
- I can select the Notebook and click the "Open" button, or I can right-click the Notebook and select the "Open" option from the pop-up menu:
The Results.
Installing Jupyter Notebook within Miniconda offers a streamlined, efficient environment for Python development and data analysis. By leveraging Miniconda, I gain a lightweight, flexible platform that supports the creation of isolated environments tailored to specific projects. My step-by-step guide provided outlines to the process of setting up Miniconda, creating a dedicated environment, and installing Jupyter Notebook. Customizing the Jupyter Notebook environment to fit individual workflow preferences, such as changing the default browser, enhances the user experience. With Jupyter Notebook, I have the ability to combine executable code, rich text, visuals, and equations in a single document that fosters a more interactive, engaging way of presenting data, analysis, and research findings. This approach simplifies the development process and also encourages a more collaborative and reproducible research environment. As demonstrated, the integration of Miniconda and Jupyter Notebook is a powerful combination for anyone looking to dive into data science, machine learning, or general Python programming, providing the tools necessary for a productive coding environment.
In Conclusion.
Exciting news for Python enthusiasts and data scientists!
I've just navigated the seamless installation of Jupyter Notebook within Miniconda, and the journey was nothing short of enlightening.
Miniconda serves as a lightweight champion, offering the perfect balance between efficiency and functionality with its minimalistic yet powerful package management system.
Why is this important?
It enables a streamlined environment for Python development and sophisticated data analysis without the overhead of unnecessary packages.
The real magic happens when Jupyter Notebook enters the scene. This open-source web application transforms how we present data, code, and research findings.
Imagine combining executable code, rich text, visuals, and equations all in one document.
That's the interactive, engaging experience Jupyter Notebook offers.
Through my step-by-step guide, I've shared insights on setting up Miniconda, creating isolated environments, and customizing Jupyter to enhance your workflow.
This approach not only simplifies the development process but fosters a more collaborative and reproducible research environment.
The integration of Miniconda and Jupyter Notebook is a game-changer for anyone diving into data science, machine learning, or general Python programming.
It's about making our coding environment as productive and enjoyable as possible.
Have you integrated Jupyter Notebook into your Python projects yet?
What has been your experience?
Let's share insights and grow together!
#JupyterNotebook #Python #Programming #SoftwareDevelopment #CodingCommunity #DataScience #MachineLearning #OpenSource #Technology #Miniconda