
Installing Node and NPM with NVM.
Or: Using the Node Version Manager to Manage Node Versions.
Thank you for reading this post.
My name is Brian and I'm a developer from New Zealand. I've been interested in computers since the early 1990s. My first language was QBASIC. (Things have changed since the days of MS-DOS.)
I am the managing director of a one-man startup called Digital Core (NZ) Limited. I have accepted the "12 Startups in 12 Months" challenge so that DigitalCore will have income-generating products by April 2024.
This blog will follow the "12 Startups" project during its design, development, and deployment, cover the Agile principles and the DevOps philosophy that is used by the "12 Startups" project, and delve into the world of AI, machine learning, deep learning, prompt engineering, and large language models.
I hope you enjoyed this post and, if you did, I encourage you to explore some others I've written. And remember: The best technologies bring people together.
TL;DR.
This post provides a step-by-step guide on how to install NVM (Node Version Manager) for managing Node and NPM versions. It covers everything from the prerequisites and installation of CURL to installing and activating NVM. It then details how to use NVM to install Node LTS and NPM, setting Node LTS as the default NVM version, and confirming the installations. It also includes instructions on how to test the installation by creating and running a simple Node.js project.
Attributions:
https://nodejs.org/en/learn/getting-started/introduction-to-nodejs↗,

An Introduction.
Node is a commonly-used JavaScript runtime that uses the V8 engine from Google. NPM (Node Package Manager) usually ships with Node. NVM (Node Version Manager) is a utility that manages Node versions on my system.
The purpose of this post is to use NVM to install the latest Node LTS and NPM.

The Big Picture.
NVM (Node Version Manager) is capable of much more than is described in this post. For instance, I can have multiple versions on Node installed on my system(s) and, thanks to NVM, I can easily switch between any of them.

Prerequisites.
- A Debian-based Linux distro (I use Ubuntu).

What is Node.js, NPM, and NVM?
Node.js is a free, JavaScript (JS) server runtime. It runs JS code as single-threaded, non-blocking, asynchronous programs, which makes it very memory efficient. Node.js performs many system-level tasks, but is commonly used to run JS servers.
NPM (Node Package Manager) is the world's largest software registry. Open source developers use it to share packages with each other. Many organizations use NPM to manage private development as well. Most developers interact with NPM using the CLI (Command Line Interface), and usually ships with Node.js.
NVM (Node Version Manager) is used to switch between versions of Node.js. NVM works on any POSIX-compliant shell (sh, dash, ksh, zsh, bash) and runs on Linux distros, macOS, and Windows WSL.
https://nodejs.org/en/learn/getting-started/introduction-to-nodejs↗,
https://docs.npmjs.com/about-npm↗, and
https://github.com/nvm-sh/nvm#intro↗.
Installing CURL.
- From the terminal, I install CURL:
sudo apt install -y curl
Installing Node.js, NPM, and NVM.
- From the terminal, I install the NVM (Node Version Manager):
curl -o- https://raw.githubusercontent.com/nvm-sh/nvm/v0.39.7/install.sh | bash
NOTE: The version numbers are listed on the NVM GitHub page.
- I activate the NVM:
source ~/.bashrc
- I use the NVM to install the LTS version of Node.js:
nvm install --lts
NOTE: The Node and NPM versions are listed on the screen.
- I make Node LTS the default NVM version, as listed in the previous command:
nvm alias default 20.11.0
- I confirm the Node installation:
node -v
- I confirm the NPM installation:
npm -v
Testing the Installation.
- I make, and change into, a new directory:
mkdir ./test-node-project && cd ./test-node-project
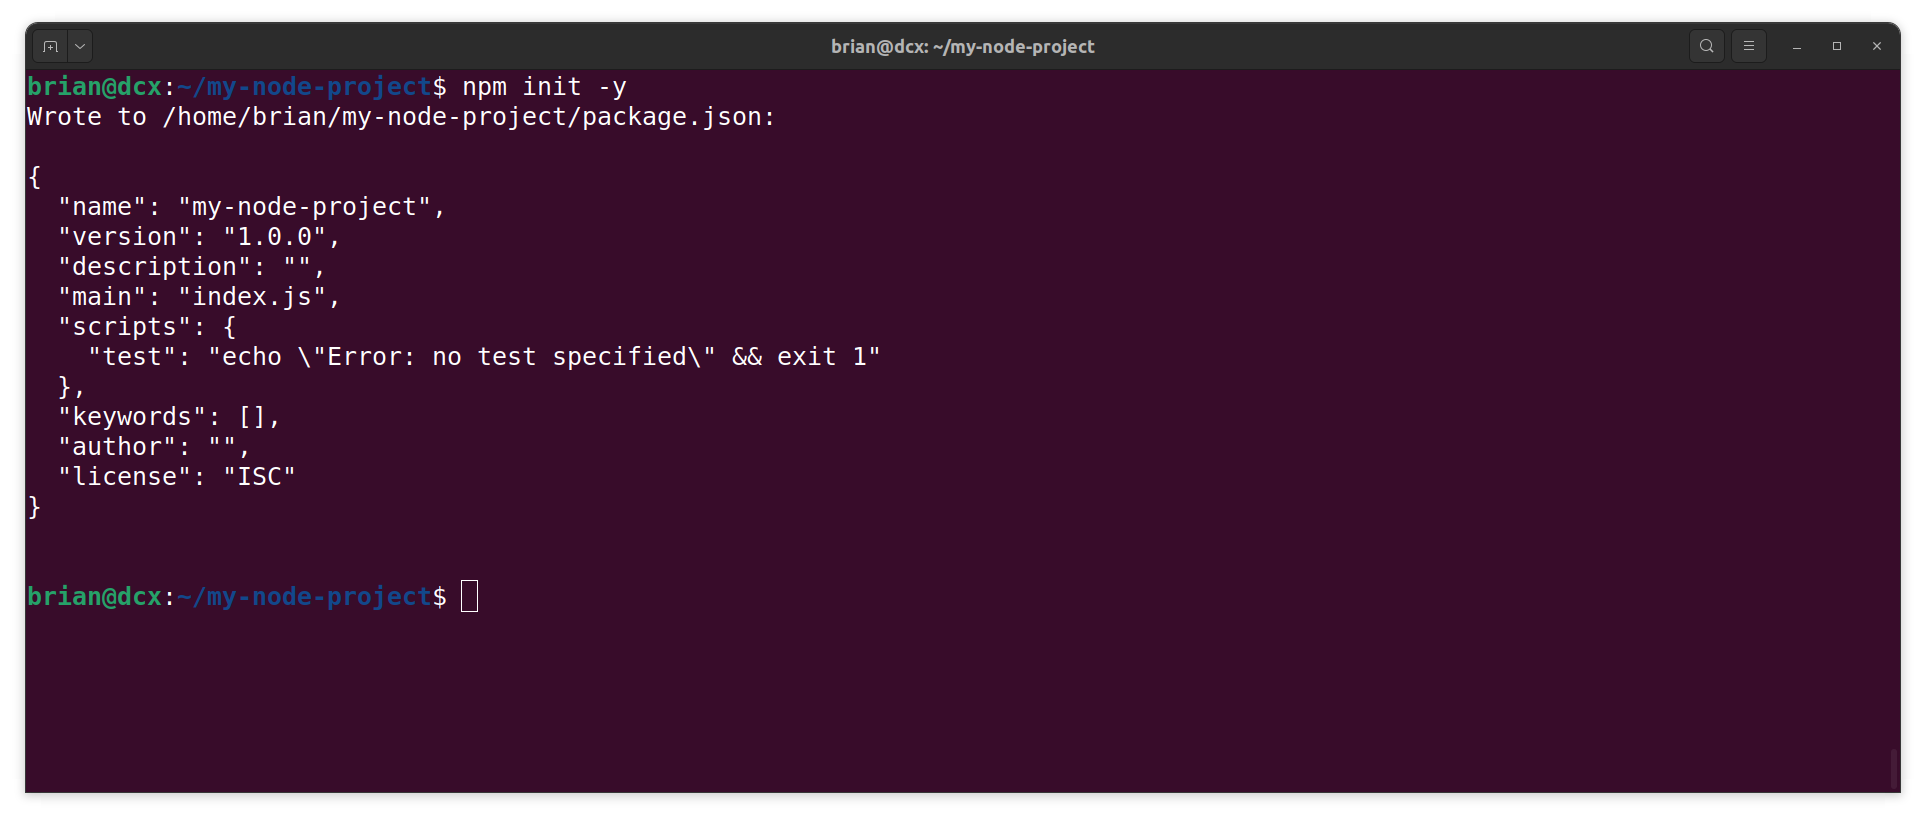
- I initialize a new Node project:
npm init -y
NOTE: This command will create a
package.jsonfile:
- I use the Nano text editor to create a file called
app.js:
sudo nano app.js
- I add the following, save (CTRL + S) the changes, and close (CTRL + X) the Nano text editor:
console.log("Hello, from Node.js!");
- I run the following command:
node app.js
NOTE: A successful test result has the "Hello, from Node.js!" message printed to the terminal.

The Results.
Installing NVM on a Debian-based Linux system like Ubuntu allows for easy management of Node.js and NPM versions. This guide walked through installing CURL and NVM to installing, and setting up, the default Node LTS and NPM versions. The successful execution of a simple Node.js project confirmed the installation processes. With NVM, I can now effortlessly switch between different Node versions as needed, enhancing my development workflow.
In Conclusion.
I've struggled with managing different versions of Node.js and NPM on my system, but here's the solution: Node Version Manager (NVM). NVM lets me install, manage, and switch between different versions of Node.js and NPM with ease.
I've crafted a step-by-step guide on how I install and use NVM on a Debian-based Linux system (like Ubuntu). From installing the prerequisites like CURL, to setting up NVM, and finally running a simple Node.js project to test the installation, this guide has me covered.
Key takeaway? NVM let's me effectively control my Node.js environment, there by enhancing my development workflow. Node.js version management is now easier and more efficient.
Have you tried NVM? How was your experience? Share your thoughts in the comments below!
Until next time: Be safe, be kind, be awesome.
#Node.js #NodeJS #Node #NPM #NodePackageManager #NVM #NodeVersionManager #JavaScript #WebDevelopment #Coding #TechGuide #Programming #SoftwareDevelopment
NOTE: All images generated by ComfyUI using the juggernautXL_version6Rundiffusion checkpoint.